

How To Grow Psychedelic Mushrooms
Have you wondering how to grow magic mushrooms on your own? worry no more. Growing hallucinogenic mushrooms is a fascinating hobby as well as a practical way to build up a good supply[i].
Introduction
More and more people are growing psilocybin mushrooms at home. As well as providing a reliable, year-round supply, home cultivation eliminates the risk of misidentifying mushrooms in the wild. For many growers, it’s also a fun, low-cost hobby. Growing psilocybin mushrooms for consumption is a potentially illegal activity, and we do not encourage or condone this activity where it is against the law.
Here at Trippy Shrooms we always advice that If you don’t know how to grow psilocybin mushrooms at home, you can start with a mushroom grow kit. These ready-to-use packs contain a living mycelium substrate (the material underlying mushroom growth) that, in theory, you just need to keep humid.
The process of growing magic mushrooms is incredibly rewarding, and if done correctly, can yield an endless supply of magic mushrooms for microdosing or self-discovery and development.
Background Of Magic Mushrooms
Fungi are not plants or animals they have their own kingdom with different characteristics even though they may share same characteristics like feeding and reproducing like animals and fungus .For example, they must eat to live, just like us. The way they reproduce isn’t much like what plants or animals do, though—fungi sex is a fascinating topic, and we have space here only to scratch the surface.
When a spore germinates, it sends out threads which is called hyphae (in singular form: “hypha”) that grow and eat. Each hypha is a single long, skinny cell that has a single nucleus. When a hypha meets the hypha of a compatible fungus’ hypha, they mate by fusing their trips.
The new individual that grows from that point has two nuclei per cell with each of the cells coming from each parent. It feeds and grows, forming a network of hyphae called a mycelium. When conditions are right, little knots of tissue called primordia (singular: “primordium”) or pins form on the mycelium. These pins grow into mushrooms, eventually producing spores of their own. Just before a cell forms spores, its two nuclei merge, so that each spore once again has a single nucleus, a mixture of both its parents.
A hobbyist mushroom grower doesn’t need to know any of that, but it will help avoid confusion, and will be necessary if you want to learn advanced techniques.
Growing Magic Mushrooms With Grow Kits and Spore Syringes
The simplest way to grow mushrooms is to buy a grow kit, basically a block of pre-inocculated substrate with instructions. Grow-kits are available for many mushroom species, both culinary and hallucinogenic. Quality can vary, depending on the brand, so it’s a good idea to get a recommendation from an experienced grower before picking one to buy.

Even without a kit, growing magic mushrooms is pretty simple, but detailed instructions can seem overwhelming because there are a lot of steps and a lot of options to choose among. So what follows is a kind of “growing 101” for beginners.
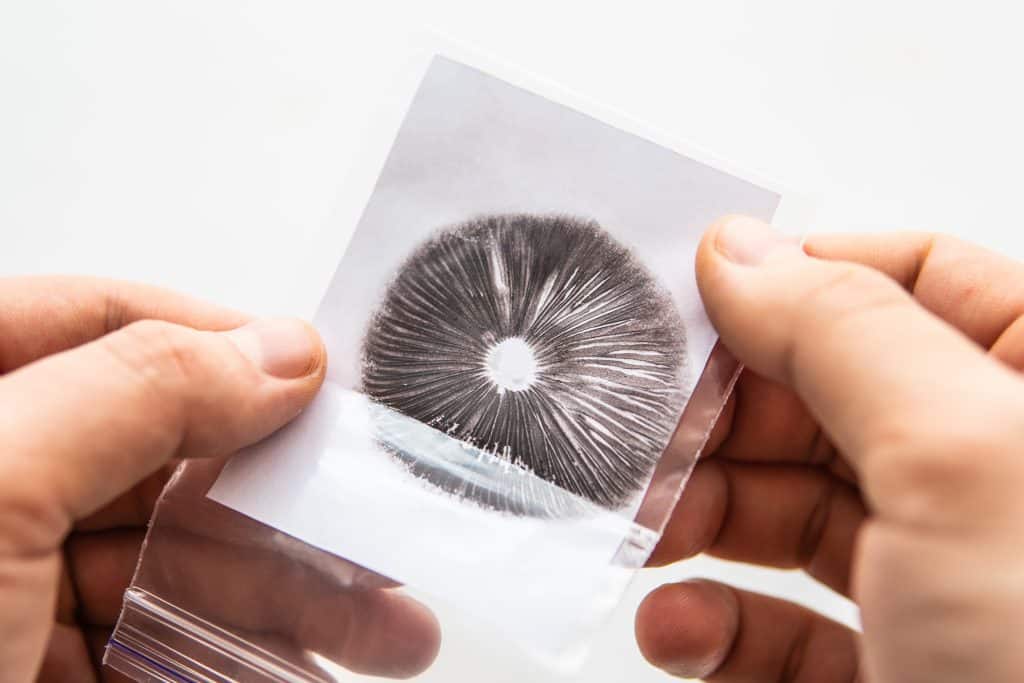
The one thing you might have trouble getting is a good spore syringe. This will contain your magic mushroom spores and be used to “sow” them into the substrate. Some growers have reported issues of contamination, misidentified strains, and even syringes containing nothing but water. However, as long as you do your research and find a reputable supplier, you shouldn’t have any problems.
WHAT YOU WILL NEED
02
You’ll need a few materials to get started but don’t worry, this set up only needs t
o be purchased one-time, and is significantly more economical in the long run than purchasing a mushroom grow kit or buying by the gram.
INGREDIENTS
- Spore syringe, 10-12 cc
- Organic brown rice flour
- Vermiculite, medium/fine
- Drinking water
EQUIPMENT
- 12 Shoulderless half-pint jars with lids (e.g. Ball or Kerr jelly or canning jars)
- Hammer and small nail
- Measuring cup
- Mixing bowl
- Strainer
- Heavy-duty tin foil
- Large cooking pot with a tight lid, for steaming
- Small towel (or approx. 10 paper towels)
- Micropore tape
- Clear plastic storage box, 50-115L
- Drill with ¼-inch drill bit
- Perlite
- Mist spray bottle
HYGIENE SUPPLIES
- Rubbing alcohol
- Butane/propane torch lighter
- Surface disinfectant
- Air sanitizer
- Sterilized latex gloves (optional)
- Surgical mask (optional)
- Still air or glove box (optional)
INSTRUCTIONS
03
This method of mushroom cultivation is cheap and pretty straightforward, therefore, perfect for the newbie fungi farmer and experienced “fungiculturist” alike. You prepare your substrate of brown rice flour, vermiculite, and water, and divide it between sterile glass jars. Introduce spores and wait for the mycelium to develop. This is the network of filaments that will underpin your mushroom growth. After 4-5 weeks, transfer your colonized substrates, or “cakes”, to a fruiting chamber and wait for your mushrooms to grow.
NOTE: Always ensure good hygiene before starting: spray an air sanitizer, thoroughly disinfect your equipment and surfaces, take a shower, brush your teeth, wear clean clothes, etc. You don’t need a lot of space, but your environment should be as sterile as possible. Opportunistic bacteria and molds can proliferate in conditions for cultivating shrooms, so it’s crucial to minimize the risk.
STEP 1: PREPARATION
1) Prepare jars:
- With the hammer and nail (which should be wiped with alcohol to disinfect) punch four holes down through each of the lids, evenly spaced around their circumferences.
2) Prepare substrate:
- For each jar, thoroughly combine ⅔ cup vermiculite and ¼ cup water in the mixing bowl. Drain excess water using the disinfected strainer.
- Add ¼ cup brown rice flour per half-pint jar to the bowl and combine with the moist vermiculite.
3) Fill jars:
- Being careful not to pack too tightly, fill the jars to within a half-inch of the rims.
- Sterilize this top half-inch with rubbing alcohol
- Top off your jars with a layer of dry vermiculite to insulate the substrate from contaminants.
4) Steam sterilize:
- Tightly screw on the lids and cover the jars with tin foil. Secure the edges of the foil around the sides of the jars to prevent water and condensation from getting through the holes.
- Place the small towel (or paper towels) into the large cooking pot and arrange the jars on top, ensuring they don’t touch the base.
- Add tap water to a level halfway up the sides of the jars and bring to a slow boil, ensuring the jars remain upright.
- Place the tight-fitting lid on the pot and leave to steam for 75-90 minutes. If the pot runs dry, replenish with hot tap water.
NOTE: Some growers prefer to use a pressure cooker set for 60 minutes at 15 PSI.
5) Allow to cool:
- After steaming, leave the foil-covered jars in the pot for several hours or overnight. They need to be at room temperature before the next step.
STEP 2: INOCULATION
1) Sanitize and prepare syringe:
- Use a lighter to heat the length of your syringe’s needle until it glows red hot. Allow it to cool and wipe it with alcohol, taking care not to touch it with your hands.
- Pull back the plunger a little and shake the syringe to evenly distribute the magic mushroom spores.
NOTE: If your spore syringe and needle require assembly before use, be extremely careful to avoid contamination in the process. Sterilized latex gloves and a surgical mask can help, but the surest way is to assemble the syringe inside a disinfected still air or glove box.
2) Inject spores:
- Remove the foil from the first of your jars and insert the syringe as far as it will go through one of the holes.
- With the needle touching the side of the jar, inject approximately ¼ cc of the spore solution (or slightly less if using a 10 cc syringe across 12 jars).
- Repeat for the other three holes, wiping the needle with alcohol between each.
- Cover the holes with micropore tape and set the jar aside, leaving the foil off.
- Repeat the inoculation process for the remaining jars, sterilizing your needle with the lighter, and then alcohol between each.
STEP 3: COLONIZATION
1) Wait for the mycelium:
- Place your inoculated jars somewhere clean and out of the way. Avoid direct sunlight and temperatures outside 70-80 °F (room temperature).
- White, fluffy-looking mycelium should start to appear between seven and 14 days, spreading outward from the inoculation sites.
NOTE: Watch out for any signs of contamination, including strange colors and smells, and dispose of any suspect jars immediately. Do this outside in a secure bag without unscrewing the lids. If you’re unsure about whether a jar is contaminated, always err on the side of caution—even if the substrate is otherwise healthily colonized—as some contaminants are deadly for humans.
2) Consolidate:
- After three to four weeks, if all goes well, you should have at least six successfully colonized jars. Leave for another seven days to allow the mycelium to strengthen its hold on the substrate.
STEP 4: PREPARING THE GROW CHAMBER
1) Make a shotgun fruiting chamber:
- Take your plastic storage container and drill ¼-inch holes roughly two inches apart all over the sides, base, and lid. To avoid cracking, drill your holes from the inside out into a block of wood.
- Set the box over four stable objects, arranged at the corners to allow air to flow underneath. You may also want to cover the surface under the box to protect it from moisture leakage.
NOTE: The shotgun fruiting chamber is far from the best design, but it’s quick and easy to build and does the job well for beginners. Later, you may want to try out alternatives.
2) Add perlite:
- Place your perlite into a strainer and run it under the cold tap to soak.
- Allow it to drain until there are no drips left, then spread it over the base of your grow chamber.
- Repeat for a layer of perlite roughly 4-5 inches deep.
STEP 5: FRUITING
1) “Birth” the colonized substrates (or “cakes”):
- Open your jars and remove the dry vermiculite layer from each, taking care not to damage your substrates, or “cakes”, in the process.
- Upend each jar and tap down onto a disinfected surface to release the cakes intact.
2) Dunk the cakes:
- Rinse the cakes one at a time under a cold tap to remove any loose vermiculite, again taking care not to damage them.
- Fill your cooking pot, or another large container, with tepid water, and place your cakes inside. Submerge them just beneath the surface with another pot or similar heavy item.
- Leave the pot at room temperature for up to 24 hours for the cakes to rehydrate.
3) Roll the cakes:
- Remove the cakes from the water and place them on a disinfected surface.
- Fill your mixing bowl with dry vermiculite.
- Roll your cakes one by one to fully coat them in vermiculite. This will help to keep in the moisture.
4) Transfer to grow chamber:
- Cut a tin foil square for each of your cakes, large enough for them to sit on without touching the perlite.
- Space these evenly inside the grow chamber.
- Place your cakes on top and gently mist the chamber with the spray bottle.
- Fan with the lid before closing.
5) Optimize and monitor conditions:
- Mist the chamber around four times a day to keep the humidity up, taking care not to soak your cakes with water.
- Fan with the lid up to six times a day, especially after misting, to increase airflow.
NOTE: Some growers use fluorescent lighting set on a 12-hour cycle, but indirect or ambient lighting during the day is fine. Mycelium only needs a little light to determine where the open air is and where to put forth mushrooms.
STEP 6: HARVESTING
1) Watch for fruits:
- Your mushrooms, or fruits, will appear as tiny white bumps before sprouting into “pins.” After 5-12 days, they’ll be ready to harvest.
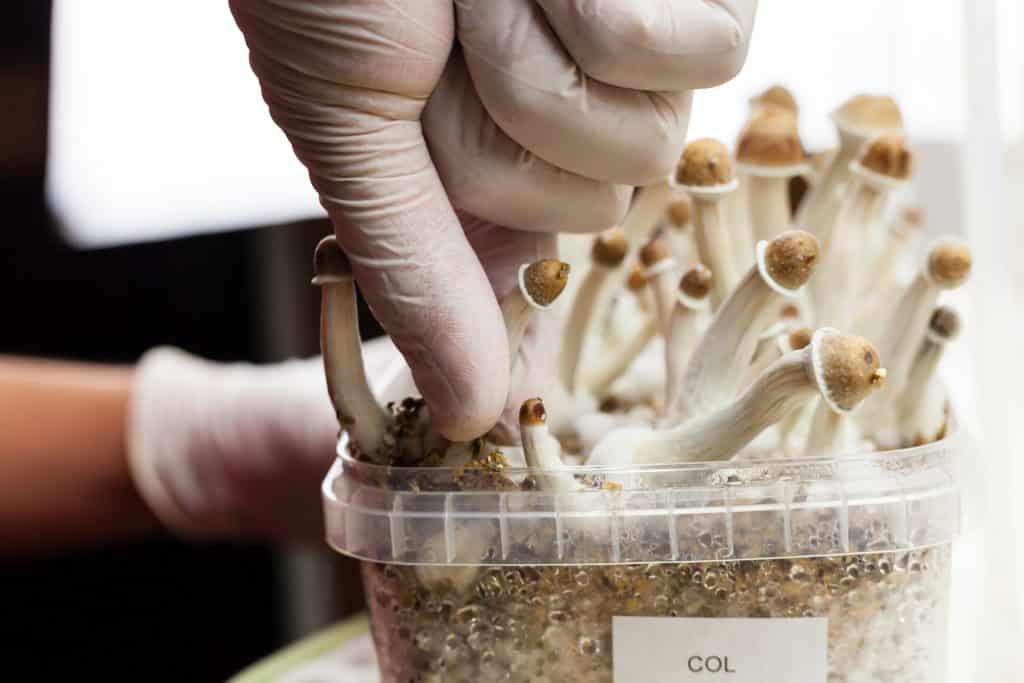
2) Pick your fruits:
- When ready, cut your mushrooms close to the cake to remove. Don’t wait for them to reach the end of their growth, as they’ll begin to lose potency as they mature.Set product image
NOTE: The best time to harvest mushrooms is right before the veil breaks. At this stage, they’ll have light, conical-shaped caps and covered gills........................................ .................buy Oxycodone 5mg

Reviews
There are no reviews yet.